Pie Crust

Golden, Flaky Perfection: Achieve Pie Crust Mastery!
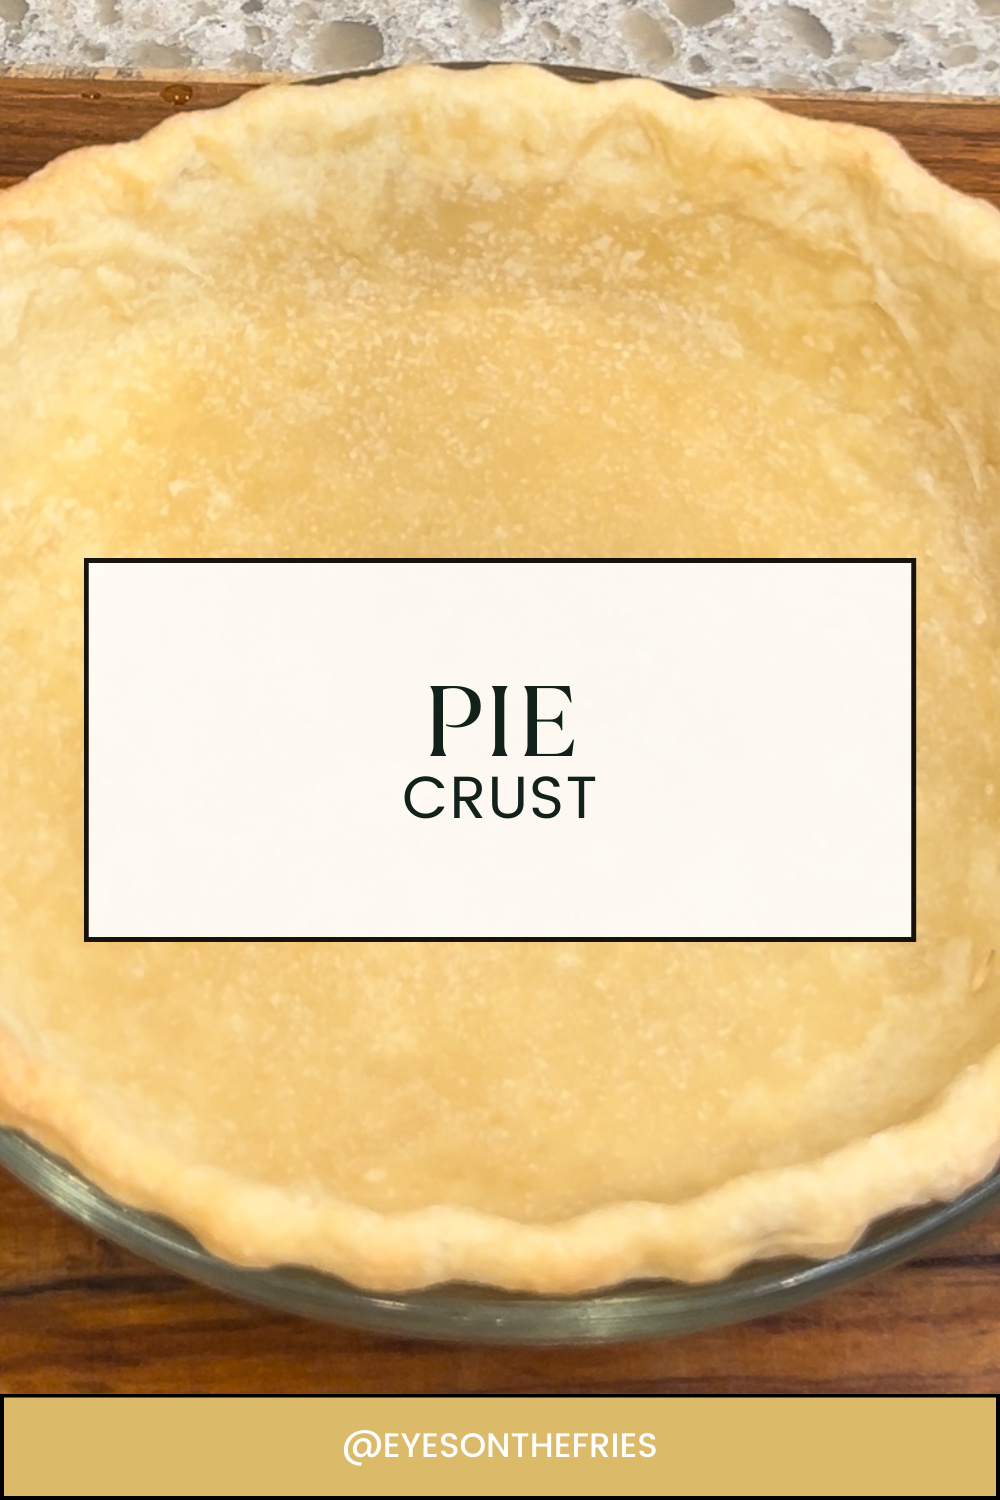
This recipe unlocks the secrets to flaky, golden brown pie crust that will elevate all your baking endeavors.
Imagine: tender and flaky layers that melt in your mouth, encasing your favorite sweet or savory fillings. This versatile recipe can be used for pies, tarts, quiches, and more, making it a must-have in any baker’s arsenal.
Here’s what makes it special:
- Simple ingredients: Uses pantry staples for a foolproof and budget-friendly approach.
- Detailed instructions: Break down each step to ensure pie crust success, even for beginners.
- Endless possibilities: Customize this recipe for sweet or savory pies, adding your personal touch.
Ready to ditch the store-bought crusts and experience the magic of homemade? Continue reading for the recipe below and get ready to master the art of pie crust!
#piecrust #bakingbasics #getinmybelly #foodie #instafood #delicious #yummy #easydesserts #bakingfromscratch #amazeballseats
- Prep Time: 25 minutes
- Cook Time: 0 minutes
- Total Time: 25 minutes
- Yield: 2 pie crusts 1x
- Category: Uncatagorized
Ingredients
- 2 1/2 cups all purpose flour, plus extra for rolling
- 1 cup (8 ounces) unsalted butter, very cold, cut into 1/2 inch cubes
- 1 teaspoon salt
- 1 teaspoon sugar
- 6 to 8 tablespoons ice water
Instructions
- Mix the flour, sugar, and salt:
- Put flour, sugar, and salt into the bowl of a food processor and pulse a couple times to mix.
- Add the butter, half at a time, pulsing several times after each addition:
- Add about half of the butter to the food processor and pulse several times. Then add the rest of the butter and pulse 6 to 8 times until the largest pieces of butter are about the size of large peas.
- Slowly add the ice water:
- Sprinkle the mixture with 4 tablespoons of the ice water (make sure there are no ice cubes in the water!) and pulse again. Then add more ice water, a tablespoon at a time, pulsing once or twice after each addition until the dough just barely begins to hold together. You may not need all the water.
- The mixture is ready when a small handful of the crumbly dough holds together when you pinch it with your fingers.
- Make two dough discs:
- Carefully empty the crumbly dough mixture from the food processor on to a clean, dry, flat surface. Gather the mixture in a mound.
- Divide the dough mixture into two even-sized mounds. Use your hands and knead each mound just enough to form each one into a disc. Do not over-knead! Kneading develops gluten which will toughen the dough, not something you want in a pastry crust. You should just knead enough so that the dough holds together without cracks.
- If you started with cold butter you should be able to see small chunks of butter speckling the dough. This is a good thing. These small bits of butter will spread out into layers as the crust cooks so you have a flaky crust!
- Sprinkle each disc with a little flour, wrap each one in plastic wrap, and refrigerate for one hour or up to 2 days.
- Remove dough from refrigerator and let sit for a few minutes:
- Remove one crust disc from the refrigerator. Let sit at room temperature for 5-10 minutes in order to soften just enough to make rolling out a bit easier.
- Roll out dough, place in pie dish:
- Roll out with a rolling pin on a lightly floured surface to a 12-inch circle; about 1/8 of an inch thick. As you roll out the dough, check if the dough is sticking to the surface below. If necessary, add a few sprinkles of flour under the dough to keep the dough from sticking.
- Carefully place onto a 9-inch pie plate. Gently press the pie dough down so that it lines the bottom and sides of the pie plate.
- Use a pair of kitchen scissors to trim the dough to within 1/2 inch of the edge of the pie dish.
If your recipe calls for a pre-baked crust, as many custard pie recipes do, follow all the steps above for a single, bottom crust only, without filling.
- Freeze the crust it for at least a half hour: until chilled. This is an important step in pre-baking. Otherwise the crust will slip down the sides.
- Preheat your oven to 350°F.
- Line pie crust with aluminum foil.
- When the pie crust is sufficiently chilled, line the pie crust with aluminum foil. Let the foil extend over by a few inches on two sides to make it easier to lift to remove the pie weights when the baking is done.
- Fill the crust to the top with pie weights – dry beans, rice, or sugar. (Sugar works best.)
- Bake at 350°F for 45-50 minutes if making a crust for a pie that will require further cooking, for example a quiche. Bake for 60 to 75 minutes if making a crust for a pie that you don’t need to bake further.
- Cool completely before filling.
- You may need to tent the edges of the pie with aluminum foil when you bake your pie, to keep the edges from getting too dried out and burnt.
Keywords: Pie Crust, Crust
Leave a Reply